The most common reason people stop making progress with bodyweight training is that their own bodyweight stops being enough. Push-ups get easy. Squats feel light. The training stimulus diminishes.
The standard answer is to buy weights. The less obvious answer is to make some.
A loaded backpack solves the same problem. A standard backpack filled with books, water bottles, or bags of sand becomes a functional training weight. It is adjustable, free, and already in most homes. The limiting factor is not the tool, it is knowing how to use it.
What to Load It With#
The goal is a stable, evenly distributed load that sits close to your body. Loose items that shift around make the pack awkward and can throw off your balance mid-exercise.
Books are ideal. They are dense, they do not shift, and almost everyone has them. A few standard paperbacks weigh a pound each; hardcovers are heavier. Stack them flat rather than standing upright so the weight sits low in the pack.
Water bottles work well. A one-liter bottle weighs about 2.2 pounds when full. Fill two or three, cap them tightly, and pad any remaining space so they do not bounce around. A gallon jug crammed into a pack adds about 8 pounds, though the shape makes this awkward in smaller bags.
Bags of rice or sand are the most customizable option. A standard five-pound bag of rice is a convenient loading unit. Double-bag any dry goods to prevent leaks, then seal the whole thing in a ziplock bag as a second precaution.
Weight plates, if you have them, fit cleanly into most larger packs and allow precise loading.
How Much Weight to Use#
Start lighter than you think you need. The biomechanics of weighted bodyweight movements differ from unloaded versions, and the feedback from the load arrives suddenly rather than building gradually the way fatigue does.
A 10-pound load is a meaningful addition for most push-up and squat variations. A 20-pound load is a significant challenge. Start at 10 pounds, get comfortable with the exercises, and progress from there.
For pack construction: use a pack with a chest clip or sternum strap if you have one. This keeps the pack from swinging forward during bent-over movements. Hip belts on hiking packs work even better. A regular daypack without straps is usable for most exercises but less controlled.
Exercises That Work Well#
Weighted Squat#
Wear the pack on your back as you would normally, pull the shoulder straps snug, and squat. The weight sits close to your center of mass, which makes the movement feel similar to a goblet squat. This is one of the cleanest loading options for lower body work.
For progression: add weight, pause at the bottom for two to three seconds to increase time under tension, or perform single-leg variations once the bilateral squat feels easy.
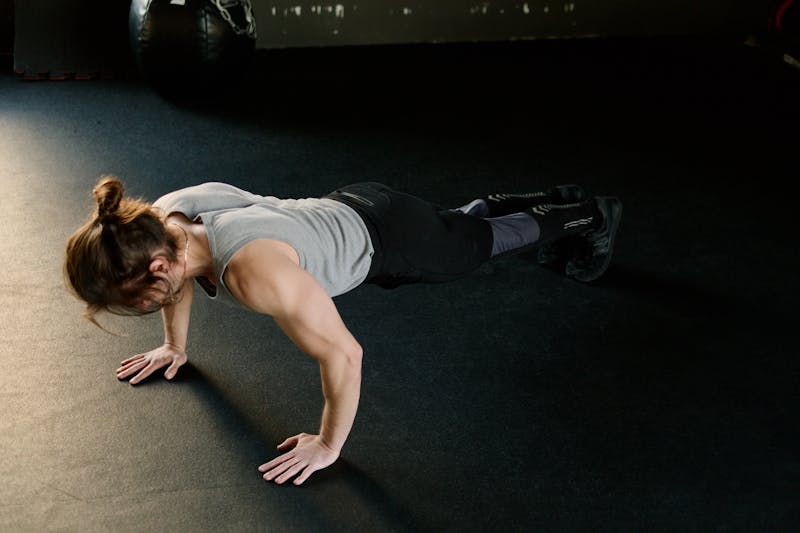
Weighted Push-Up#
Place the pack on your upper back with the straps snug. The weight should not shift toward your neck. Perform push-ups as usual. The additional load significantly increases the demand on the chest, shoulders, and triceps.
Start with five to eight reps at the new weight before committing to working sets. The chest and shoulder fatigue appears faster than you expect.
Bent-Over Row#
Hold the pack by its top handle or loop a strap around your hand. Hinge at the hips until your torso is roughly parallel to the floor, let the pack hang at arm’s length, and row it toward your lower chest. Keep the elbow close to the body rather than flaring wide.
This is one of the most valuable uses for the loaded pack because it provides upper body pulling resistance. Bodyweight training lacks pulling movements unless you have a pull-up bar, and the bent-over row fills that gap.
Romanian Deadlift#
Hold the pack by both straps in front of your thighs. Hinge at the hips, lower the pack toward the floor while keeping the back flat, and drive the hips forward to return to standing. You should feel a strong stretch through the hamstrings at the bottom.
Load enough that the last two reps of a set of ten require real effort. This often means 20 to 30 pounds in the pack for people who have done any prior training.
Farmer’s Carry#
Grip one shoulder strap near the top of the pack and carry it at your side for distance or time. Farmer’s carries build grip strength, core stability, and shoulder endurance simultaneously. They also require almost no technique to perform safely.
Carry the pack on one side at a time rather than both hands together. The one-sided load creates a lateral demand on the core that bilateral carries do not.
Weighted Step-Up#
Hold the pack in front of your chest or wear it on your back. Step up onto a stable surface, bring the trailing foot up, step back down. The pack increases the single-leg demand meaningfully without changing the movement pattern.
Weighted Lunge#
Wear the pack or hold it at chest height. Perform forward lunges, reverse lunges, or walking lunges as usual. The load increases quad and glute demand through the lowering phase.
A Sample Weighted Backpack Session#
This session pairs well with a rest day from harder training or as a standalone workout for someone building toward weighted exercises.
Warm-up (unloaded)
- Bodyweight squats: 15 reps
- Hip hinge: 10 reps
- Arm circles and thoracic rotation: 30 seconds each
Working sets (load the pack)
- Weighted squat: 3 sets of 12 to 15 reps
- Weighted push-up: 3 sets of 8 to 12 reps
- Bent-over row: 3 sets of 10 to 12 reps per side
- Romanian deadlift: 3 sets of 10 reps
- Weighted step-up: 2 sets of 10 reps per side
- Farmer’s carry: 3 carries of 30 to 40 meters
Rest 60 to 90 seconds between sets. Total time: 35 to 45 minutes.
Applying Progressive Overload#
The backpack works like any free weight: add load to progress. Once a given weight becomes manageable across all sets, add five to ten pounds. Once you reach the practical loading limit of your pack (usually 30 to 40 pounds before the fit becomes awkward), transition to tougher movement variations rather than more weight.
The progressive overload article covers the full framework for advancing training when equipment is limited.
What the Pack Does Not Replace#
The loaded backpack is a genuine training tool, not a full substitute for a dedicated weight set. It does not allow fine-grained weight adjustment (you cannot add 2.5 pounds precisely), and it becomes awkward above certain loads. For exercises like overhead pressing, the shape of the pack makes it less stable than a dumbbell.
For the purpose of adding meaningful resistance to bodyweight training at zero cost, it does the job.
Do this today: Load a backpack with ten pounds of books and do three sets of weighted squats. Then do three sets of bent-over rows using the same pack. That is the proof of concept. If you feel the load making a difference, you have a free training tool sitting in your closet.